DISCLAIMER

All rights of photos and text reserved. Usage of photos or text from my blog on other websites or for any other purpose only with prior permission. If you want to use any material from my blog please contact me by email.

Friday, September 25, 2020

Making of 2A3 Mono Amplifiers

 Hi!

I have a set of 2A3 Monos in the making. Here some photos of the assembly.


This time the customer requested german engravings. Each mono block will have an external power supply. So the set will consist of 4 portrait style chassis, here the metal plates of the chassis, top plates, fronts and back plates:


The power supply top plates with sockets and resistors installed and part of the wiring done:


Main Power transformer mounted:


These amps will be used with very sensitive speakers so the 2A3 will be DC heated for hum free operation. The filament transformer is mounted under chassis:


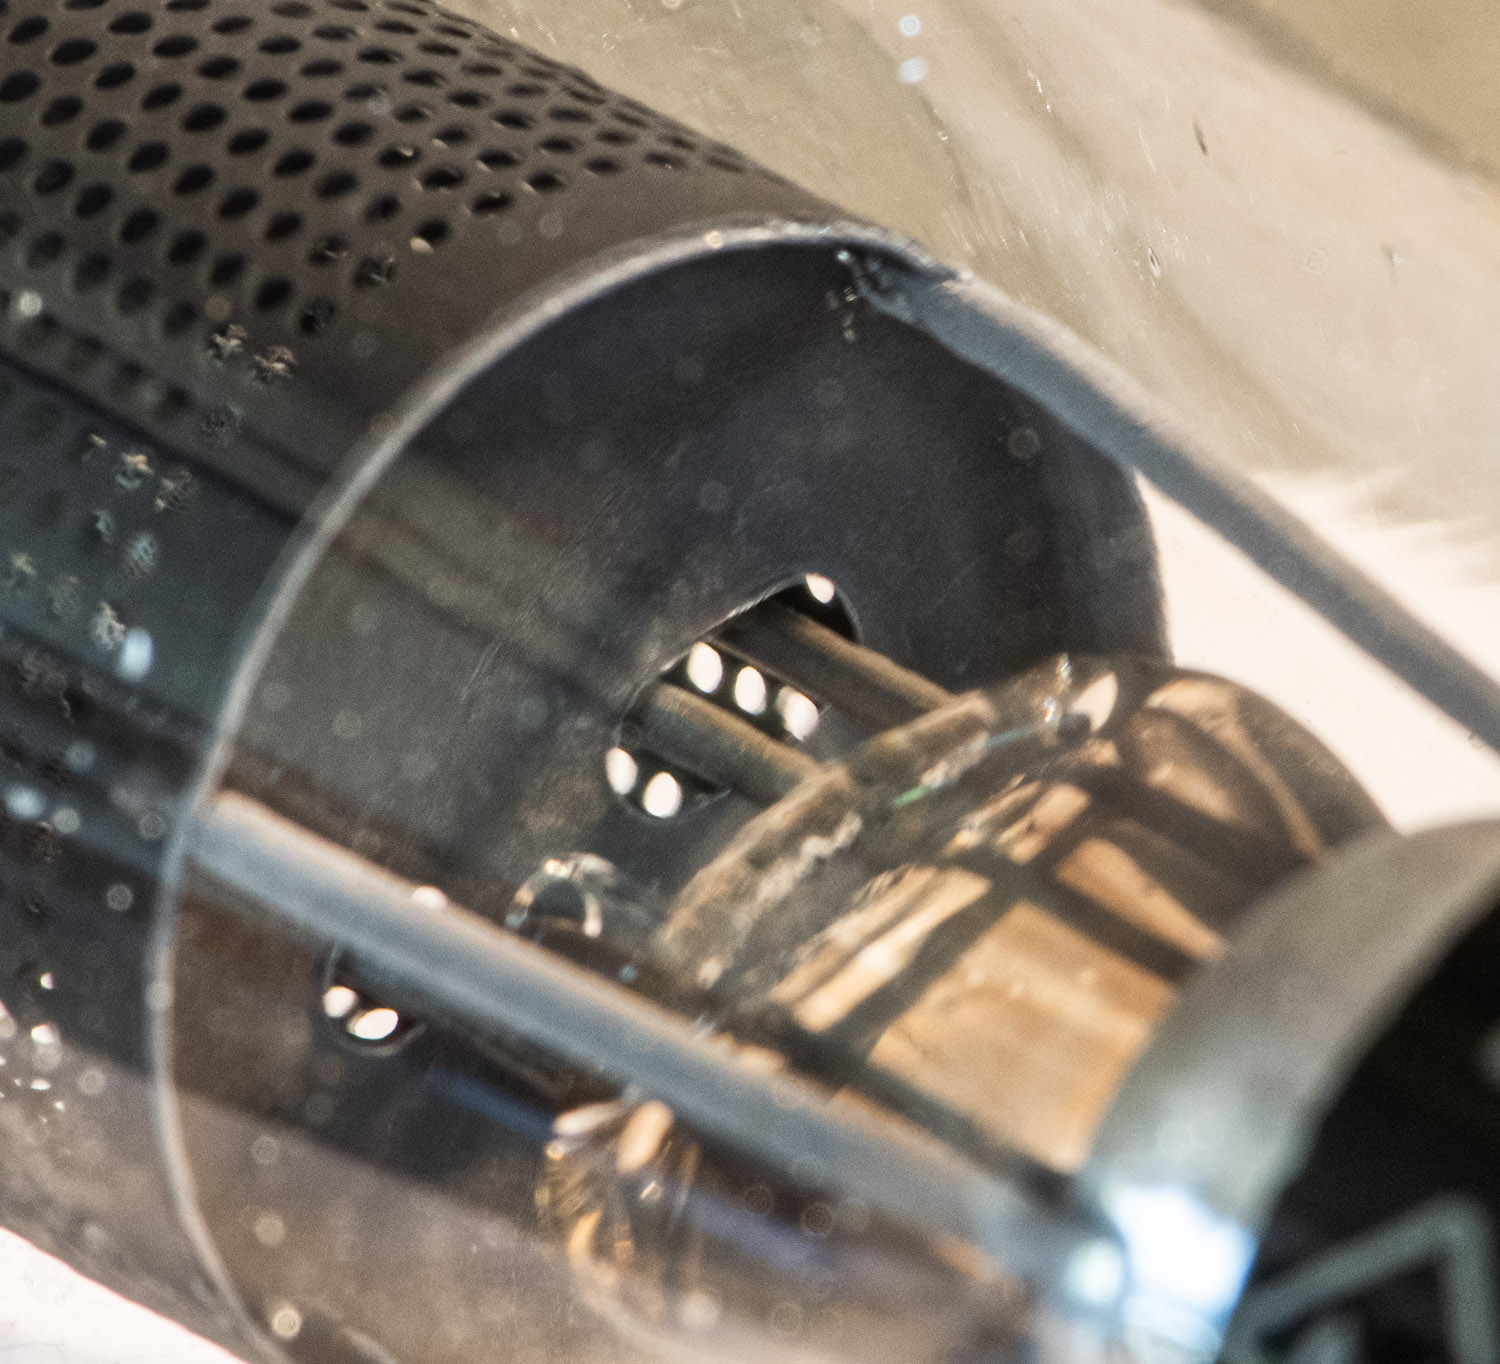
The chokes for high voltage and filament supplies are mounted on a separate metal plate:


The finished power supply before it is inserted into the wooden frame:


One of the power supplies already finished. The wooden frame is teak:


Amplifier top plate with interstage and output transformers as well as capacitors mounted on the top side:


The driver tube will be a 6N7. Here the signal and ground wiring in place:


Chokes and two more capacitors are mounted on a separate metal plate:


Separate chokes for output and driver high voltage and for the 2A3 filament.


The amplifier almost finished only needs to be inserted into the wooden frame and the back plate needs to get connected:


In the next post I will show the finished amps. Stay tuned!


Best regards

Thomas


Monday, September 21, 2020

The Stereo 300B Amplifier - Part 2

Hi!

Here some photos of the finished stereo 300B amplifier.


The amplifier is split into two chassis, the actual amp containing both channels and an external power supply.


The chassis have a floorspace of 305 by 305mm. Height of the wooden body is 400mm overall height including feet and tubes about 600mm.


In part 1 I showed the pre-assembled submodules. Here we see how they are stacked together. All electrical parameters are tested before the amp and PSU are fitted into their enclosures.


Some tubes are plugged into test adapters to access the pins for measurements. This amplifier produces 8W per channel and is equipped with ELROG ER300B as standard. The driver tubes are NOS 6SN7 and the power supply uses 6AX4 as rectifiers.


Best regards

Thomas

Wednesday, September 16, 2020

Tube of the Month : The 323B

 Hi!

This months tube is something rarely seen today, a thyratron. Meet the 323B.


A thyratron is basically a half wave rectifier with a control element. This allows various applications, one of which is rectification. The 323B is filled with mercury and argon.


The 323B has a 5 pin base and a top cap. It uses two of the base pins in parallel for either end of the filament to ensure good contact for the massive current of 7A which is needed to heat this tube. The filament voltage is 2.5V. The 5th base pin is connected to the control grid while the anode is wired to the top cap. The control grid allows an operation as rectifying device which delivers an output voltage more independent of load current variations compared to usual rectifiers. It also allows circuits in which output voltage can be controlled or some maximum current to be set. Other applications are inverter circuits (DC to AC conversion) or relay circuits. Some intrepid audio amplifier designers used this tube as rectifier in their power supply albeit not utilising the controllability. It's been used with the control grid acting as the anode and the actual anode left unconnected. This way it pretty much acts like other mercury vapour rectifiers. For complete technical data and some sample circuits see the Western Electric datasheet.


Here we see a 323B made by Western Electric.


The control element is actually a cage of punched metal sheet around the filament.


Of course you are all waiting to see some photos of the tube in operation.


Here the grid element is used as anode. The blue glow stays within the grid cage. 


The intensity of the glow depends on the current draw. Next we see the actual plate used as anode.


Next we have a 323B made by Continental Electric:


Let's also see this tube in operation. First just with the filament lit, but no high voltage.


High voltage applied to the plate:


The control grid used as anode:


High voltage to the anode and current controlled via the grid:


Some nice glow effects can be achieved by different voltage combinations.


An awesome tube if you are ready to handle the high filament current.


Best regards

Thomas