Hi!
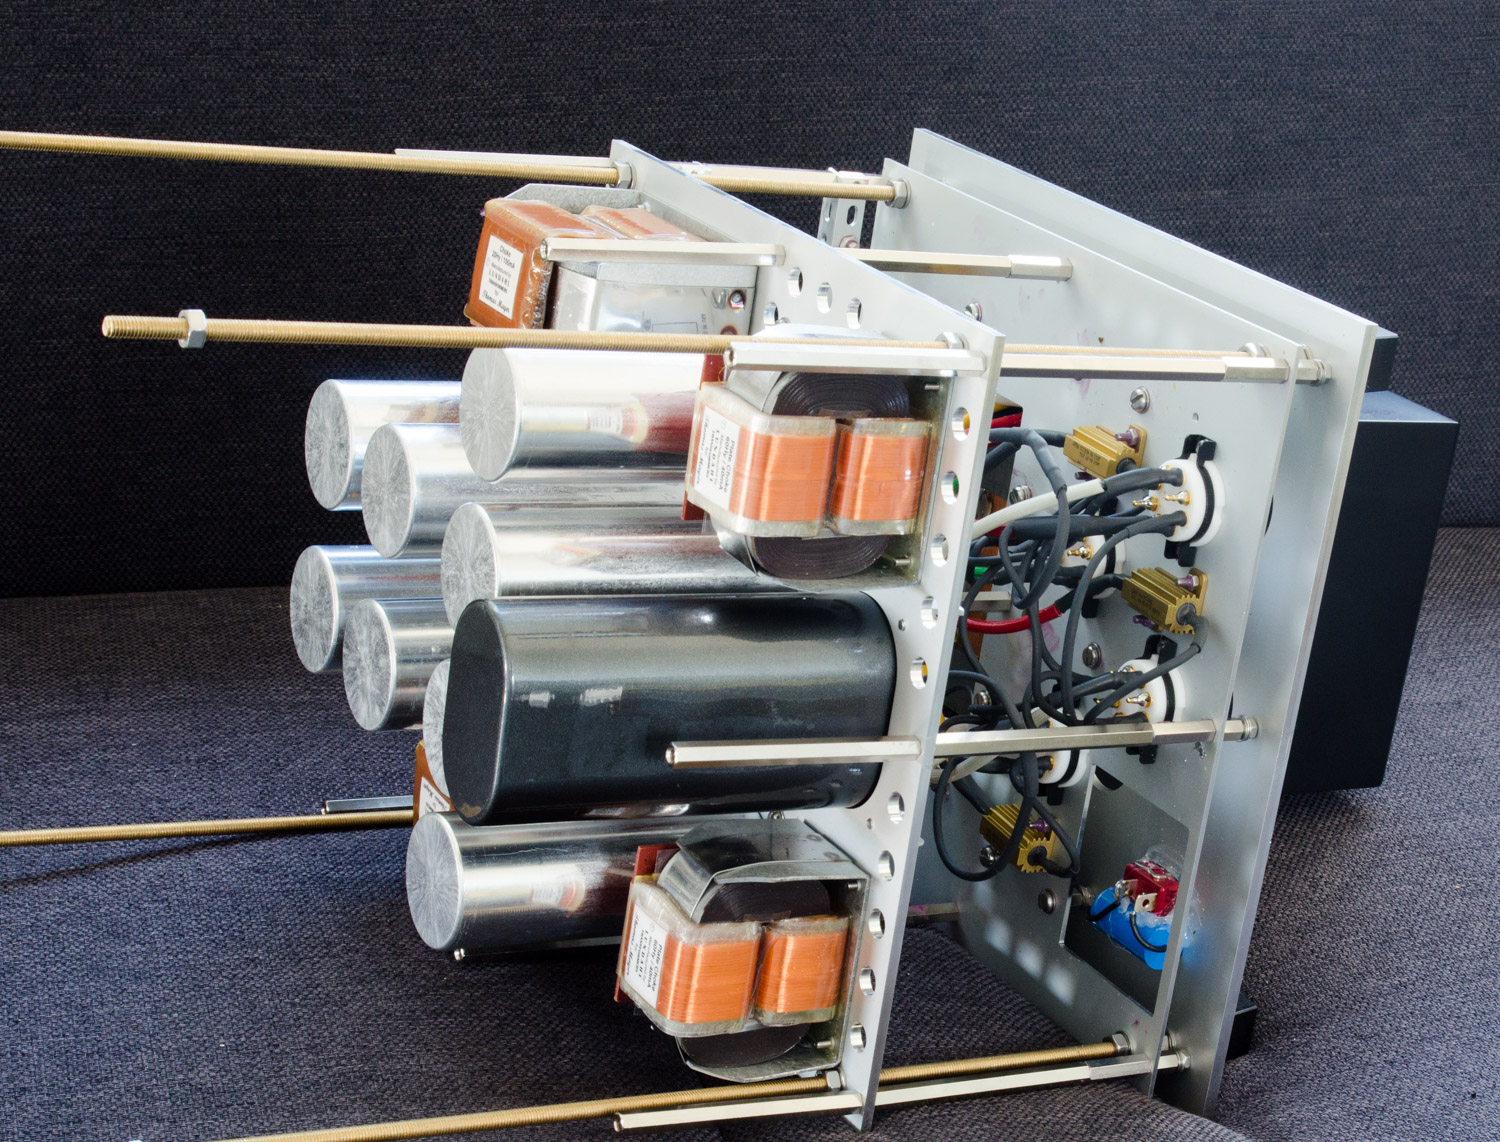
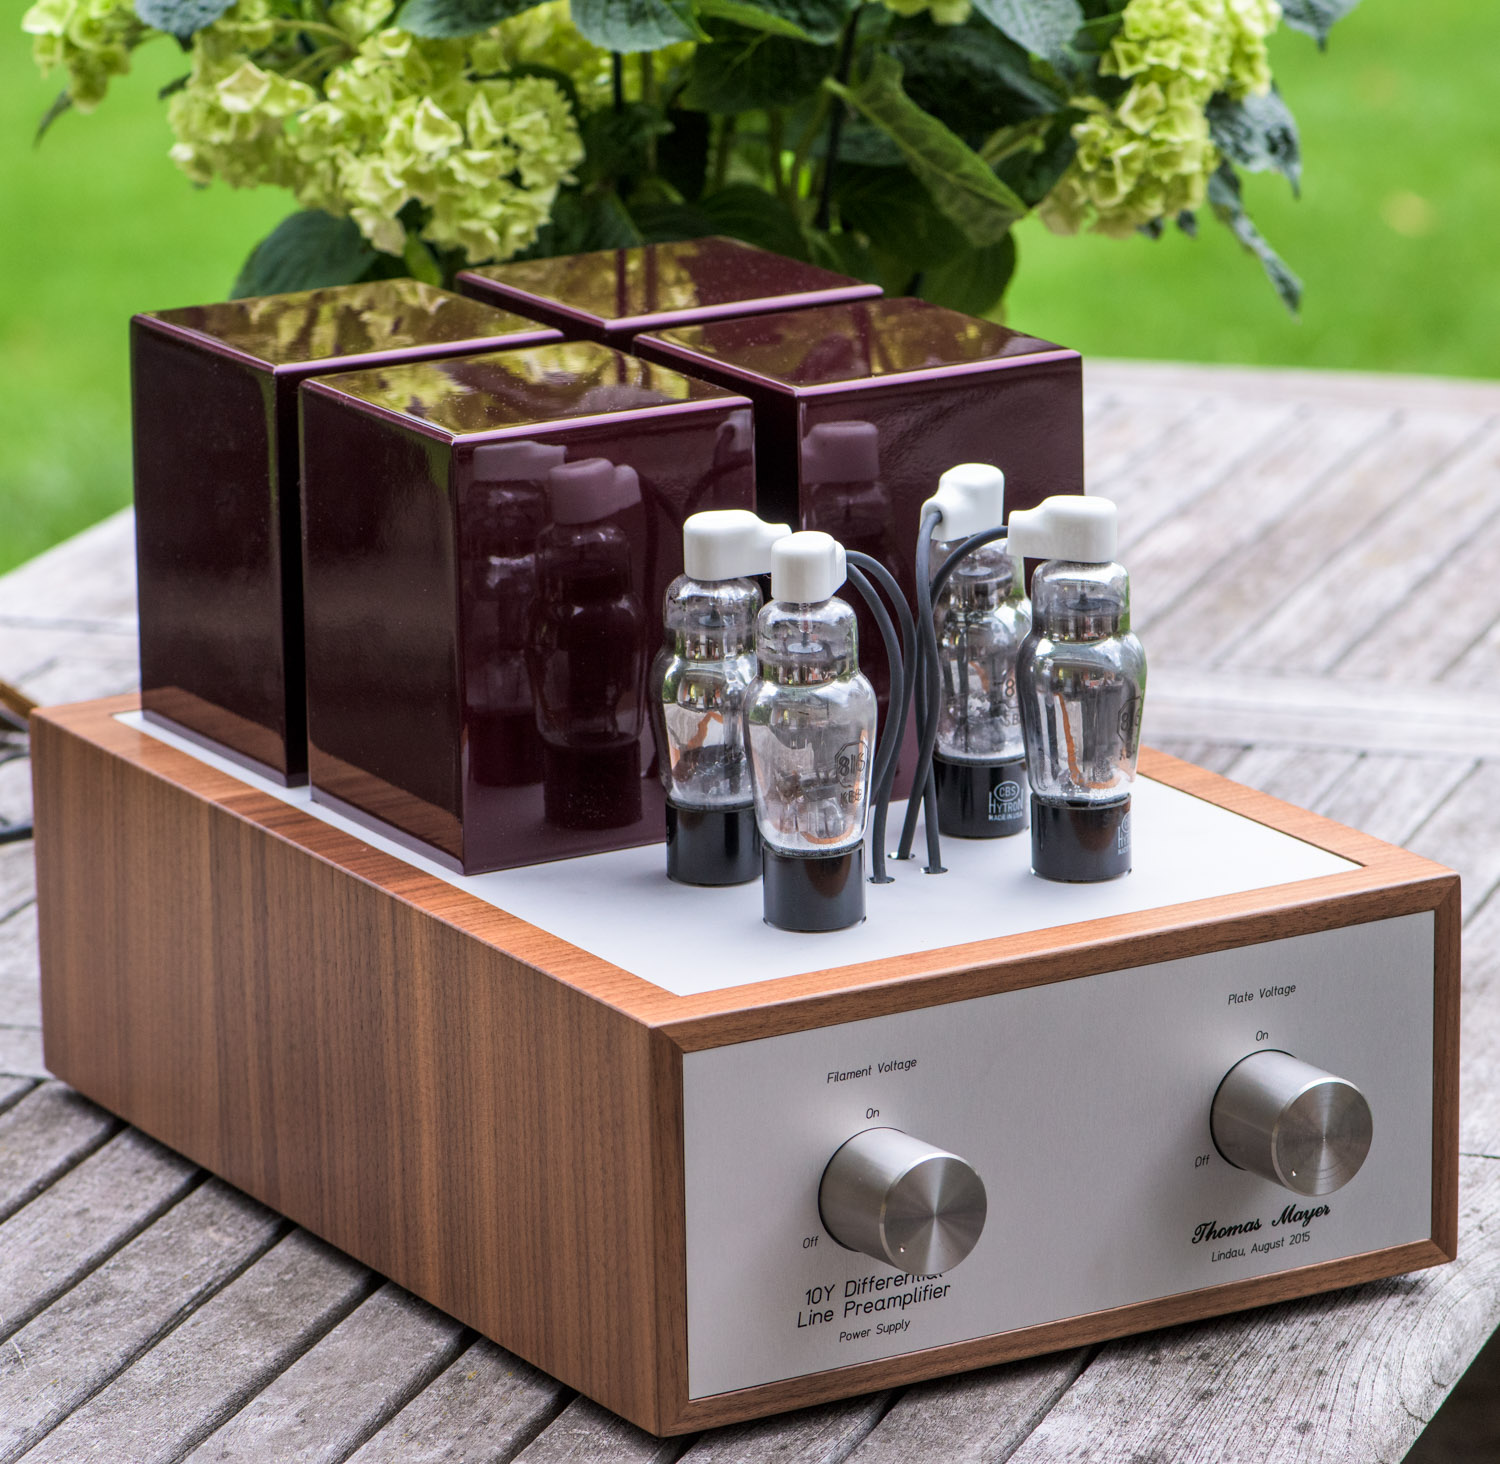
Here some photos of the first power supply I built for the ER274A rectifier.
The owner of one of the sets of 211/211 amplifiers requested to convert the power supplies to use the new ELROG rectifier. How could I say no to that?
Two of the TV Dampers got replaced by the directly heated rectifiers. Two TV dampers remained for a slow ramp up of the high voltage.
Now not only the amplifier sections exhibit the bright thoriated tungsten glow, but the power supplies as well.
Not sure yet if I even prefer this to the blue glow of the mercury vapour PSUs.
Quite spectacular light show!
Amp section and PSU side by side:
The gap between the two plates gives a nice view to the filament.
Best regards
Thomas
DISCLAIMER
All rights of photos and text reserved. Usage of photos or text from my blog on other websites or for any other purpose only with prior permission. If you want to use any material from my blog please contact me by email.
Showing posts with label power supplies. Show all posts
Wednesday, October 18, 2017
Sunday, April 23, 2017
The 6 Channel Field Coil Supply
Hi!
Some photos of a field coil power supply which has been finished recently.
It is meant to supply a pair of speakers with 3 field coil drivers per side.
All in one chassis.
Completely passive choke filtered supplies, independent for each driver.
Voltages can be adjusted in 5% steps with a common set of switches per section (bass, midrange and tweeter). Digital meters monitor voltage and current of each of the 6 independent supplies.
Adjustment is done by selection of different primary and secondary taps on the power transformers to avoid any regulation circuitry.
LCLC filtering of each of the 6 voltages, so 12 chokes in total.
The finished unit weighs over 50kg!
Best regards
Thomas
Some photos of a field coil power supply which has been finished recently.
It is meant to supply a pair of speakers with 3 field coil drivers per side.
All in one chassis.
Completely passive choke filtered supplies, independent for each driver.
Voltages can be adjusted in 5% steps with a common set of switches per section (bass, midrange and tweeter). Digital meters monitor voltage and current of each of the 6 independent supplies.
Adjustment is done by selection of different primary and secondary taps on the power transformers to avoid any regulation circuitry.
LCLC filtering of each of the 6 voltages, so 12 chokes in total.
The finished unit weighs over 50kg!
Best regards
Thomas
Thursday, December 3, 2015
Power Supplies Tower Style
Hi!
The recently presented 211 amps in tower style received some good feedback for their design. Someone commissioned a set of 300B monos and a 10Y preamp in the same chassis style. The power supplies are already finished.
This time in a light coloured wood body. The power supplies use a full tube Graetz bridge with a mix of 1616 and 6AX4 tubes. Similar to the PSUs for a previous 300B amp and also similar to the PSUs of the 211/211 amps.
Like those the new PSUs can also operate 866A tubes:
The signal chassis will use silver finemet transformers for which I am still waiting. They will share the same circuit as the silver 300B amps and silver 10Y line stage built earlier this year.
Top view, showing the tubes and the rotary type on off switch:
The back side showing the connection terminal:
There is also a version of the Stereo 300B amp planned in the same tower style.
Best regards
Thomas
The recently presented 211 amps in tower style received some good feedback for their design. Someone commissioned a set of 300B monos and a 10Y preamp in the same chassis style. The power supplies are already finished.
This time in a light coloured wood body. The power supplies use a full tube Graetz bridge with a mix of 1616 and 6AX4 tubes. Similar to the PSUs for a previous 300B amp and also similar to the PSUs of the 211/211 amps.
Like those the new PSUs can also operate 866A tubes:
The signal chassis will use silver finemet transformers for which I am still waiting. They will share the same circuit as the silver 300B amps and silver 10Y line stage built earlier this year.
Top view, showing the tubes and the rotary type on off switch:
The back side showing the connection terminal:
There is also a version of the Stereo 300B amp planned in the same tower style.
Best regards
Thomas
Thursday, October 8, 2015
211 -The Next Generation- Part 12 : 801A/211 towers, PSU assembly
Hi!
The assembly of an amplifier chassis has been shown in part 11 of this series of posts. Now let's have a look at the power supply assembly steps.
The top plate only holds the transformer cover for the main power transformer and the on off switch.
The power transformer itself is mounted on a sub plate with the rectifier tube sockets:
wiring of the full wave rectifier bridge which consists of 4 6AX4 TV dampers:
The transformer plate mounted to the top plate:
The next level carries the capacitors and chokes for high voltage smoothing:
Here it is mounted to the main assembly:
The filament supplies for driver and output tube share the last plate:
This gets mounted at the bottom end:
The power supply ready for testing:
In the next part I will show the finished amplifier set.
Best regards
Thomads
The assembly of an amplifier chassis has been shown in part 11 of this series of posts. Now let's have a look at the power supply assembly steps.
Shown above are all the major parts which are mounted in one power supply. Like the amps, construction is done top down with the parts mounted on several plates.
The top plate only holds the transformer cover for the main power transformer and the on off switch.
The power transformer itself is mounted on a sub plate with the rectifier tube sockets:
wiring of the full wave rectifier bridge which consists of 4 6AX4 TV dampers:
The transformer plate mounted to the top plate:
The next level carries the capacitors and chokes for high voltage smoothing:
Here it is mounted to the main assembly:
The filament supplies for driver and output tube share the last plate:
This gets mounted at the bottom end:
The power supply ready for testing:
In the next part I will show the finished amplifier set.
Best regards
Thomads
Wednesday, September 9, 2015
Some Like It Blue
Hi!
Here some photos of another mercury vapour power supply.
The owner of the differential 10Y line stage asked for a power supply with mercury vapour tubes since he loves the sound and blue glow of these.
And this is the result.
A new power supply with 4 816 mercury rectifier tubes.
Contrary to previous power supplies with MV tubes this one has a pure mercury vapour rectifier bridge, not a hydrid with 2 6AX4 TV dampers.
That's why the power supply has two separate switches for filaments and pate voltage, to allow for the necessary warm up of the 816 filaments.
View from the top with just the filaments turned on:
And with the pate voltage:
Best regards
Thomas
Here some photos of another mercury vapour power supply.
The owner of the differential 10Y line stage asked for a power supply with mercury vapour tubes since he loves the sound and blue glow of these.
And this is the result.
A new power supply with 4 816 mercury rectifier tubes.
Contrary to previous power supplies with MV tubes this one has a pure mercury vapour rectifier bridge, not a hydrid with 2 6AX4 TV dampers.
That's why the power supply has two separate switches for filaments and pate voltage, to allow for the necessary warm up of the 816 filaments.
View from the top with just the filaments turned on:
And with the pate voltage:
Best regards
Thomas
Monday, July 13, 2015
211 -The Next Generation- Part 3 : 211 Drives 211 PSU assembly
Hi!
After completion of the initial tests the final assembly is progressing. In this post the construction of one of the power supplies is shown.
Starting from the top with the upper plate:
In order to improve creepage distances for the high voltages present at the tube sockets, these got mounted on a separate plate which in turn is attached to the main plate with some studs.
The resistors are there to adjust the filament and heater voltages to the nominal values. Caps and chokes are mounted on a separate sub assembly and pre wired.
This is then mounted to the main assembly as the second tier.
The power transformers along with filament rectifiers and chokes are on another sub assembly
The B+ transformer in the middle at the front and the filament chokes beside it. In the back row the separate filament transformers for driver and output tube and the rectifier and caps between them. The resistors are the bleeders.
All three levels mounted and wired together:
All that is missing is the terminal with the connectors. This will be attached at the end after the PSU is inserted in the wooden housing.
The PSU in a preliminary wooden housing, feet still missing:
Next will be the assembly of the amp chassis. Stay tuned!
Best regards
Thomas
After completion of the initial tests the final assembly is progressing. In this post the construction of one of the power supplies is shown.
Starting from the top with the upper plate:
In order to improve creepage distances for the high voltages present at the tube sockets, these got mounted on a separate plate which in turn is attached to the main plate with some studs.
The resistors are there to adjust the filament and heater voltages to the nominal values. Caps and chokes are mounted on a separate sub assembly and pre wired.
This is then mounted to the main assembly as the second tier.
The power transformers along with filament rectifiers and chokes are on another sub assembly
The B+ transformer in the middle at the front and the filament chokes beside it. In the back row the separate filament transformers for driver and output tube and the rectifier and caps between them. The resistors are the bleeders.
All three levels mounted and wired together:
All that is missing is the terminal with the connectors. This will be attached at the end after the PSU is inserted in the wooden housing.
The PSU in a preliminary wooden housing, feet still missing:
Next will be the assembly of the amp chassis. Stay tuned!
Best regards
Thomas
Subscribe to:
Posts (Atom)